A Workspace is the highest level of organization on Astronomer. From a Workspace, you can manage a collection of Airflow Deployments and a set of users with varying levels of access to those Deployments. If you’re not a member of any Workspaces already, you’ll be prompted to create one as soon as you log in to the Software UI. If you already have access to at least 1 Workspace, you can create a new one using the New Workspace button in the sidebar of the Software UI. This guide walks through the best practices for creating and managing Workspaces as a Workspace admin. It’s organized by the 4 tabs you can access from a Workspace’s menu in the Software UI:Documentation Index
Fetch the complete documentation index at: https://astronomer-preview.mintlify.app/llms.txt
Use this file to discover all available pages before exploring further.
- Deployments
- Settings
- Users
- Service Accounts
Deployments
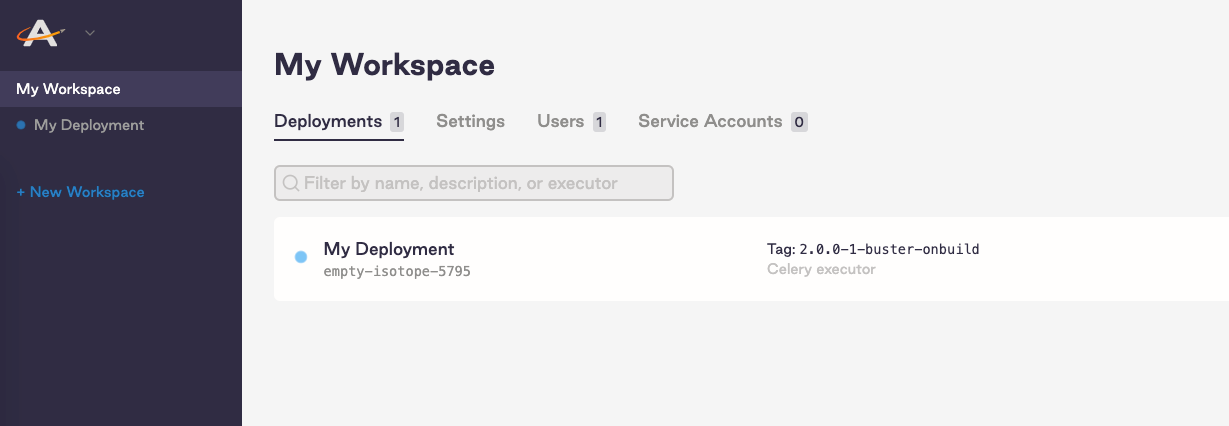
The most important function of Workspaces is creating and managing access to one or more Airflow Deployments. An Airflow Deployment is an instance of Apache Airflow that consists of a scheduler, webserver, and one or more workers if you’re running the Celery or Kubernetes executors. To create a new Deployment, click the New Deployment button in the Deployments tab or use the Astro CLI as described in CLI Quickstart. For more information on configuring Deployment settings and resources, read Configure a Deployment. The Deployments tab also contains information on all of your existing Deployments, including name, executor type, and Deployment status. A blue dot next to a Deployment’s name indicates that the Deployment is still spinning up, while a green dot indicates that the Deployment is fully operational: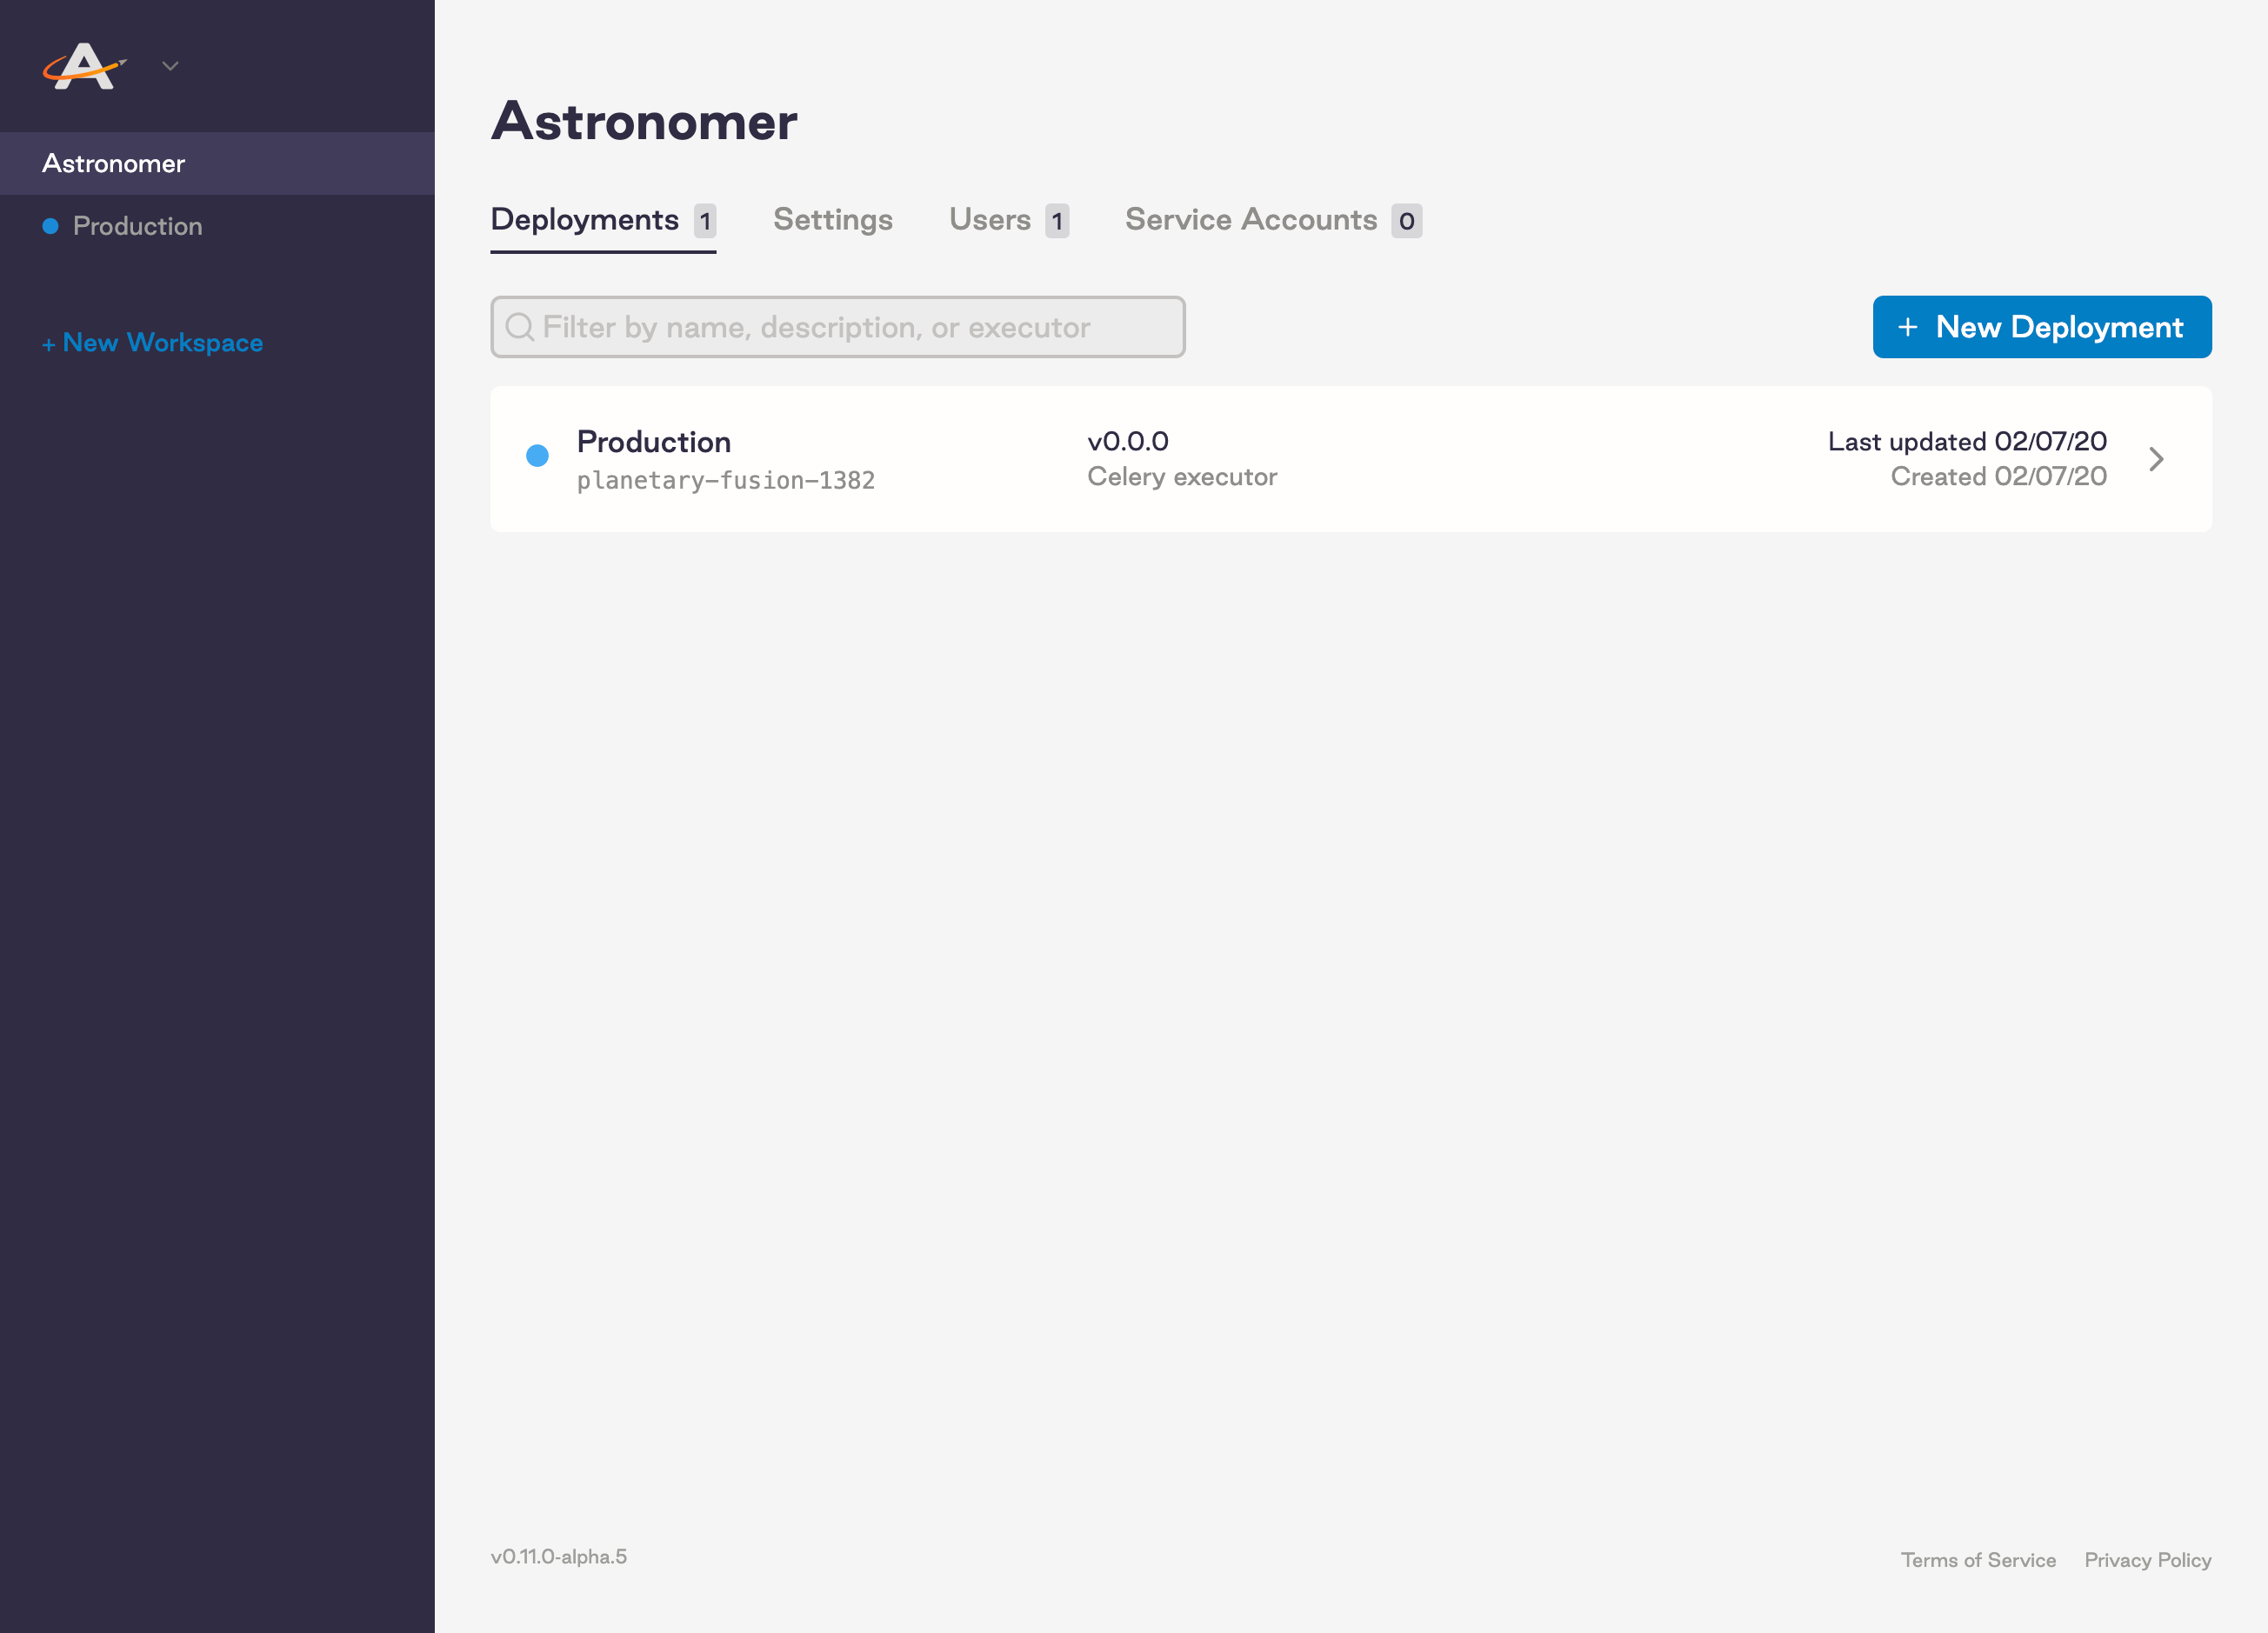 Deployments cannot be used or shared across Workspaces. While you’re free to push local DAGs and code anywhere you wish at any time, there is currently no way to move an existing Airflow Deployment from one Workspace to another once created.