This is where you’ll find information about creating a project and running it in a local Airflow environment.Documentation Index
Fetch the complete documentation index at: https://astronomer-preview.mintlify.app/llms.txt
Use this file to discover all available pages before exploring further.
Prerequisites
Creating an Astro project requires the Astro CLI.Step 1: Create a project directory
Before you create a Software project, create an empty directory and open it:Dockerfile
Your Dockerfile will include reference to an Astro Runtime Docker image. Astro Runtime is a production ready data orchestration tool based on Apache Airflow that includes additional features and undergoes additional levels of rigorous testing conducted by Astronomer. This Docker image is hosted on Astronomer’s Quay.io registry and allows you to run Airflow on Astronomer. Additionally, the image you include in your Dockerfile dictates the version of Airflow you’d like to run both when you’re developing locally and pushing up to Astro. Because Astro Runtime releases more frequently than Apache Airflow, a Runtime image’s version number will be different than the Apache Airflow version it supports. See Astro Runtime and Apache Airflow parity. By default, the Docker image in your Dockerfile is:Example DAG
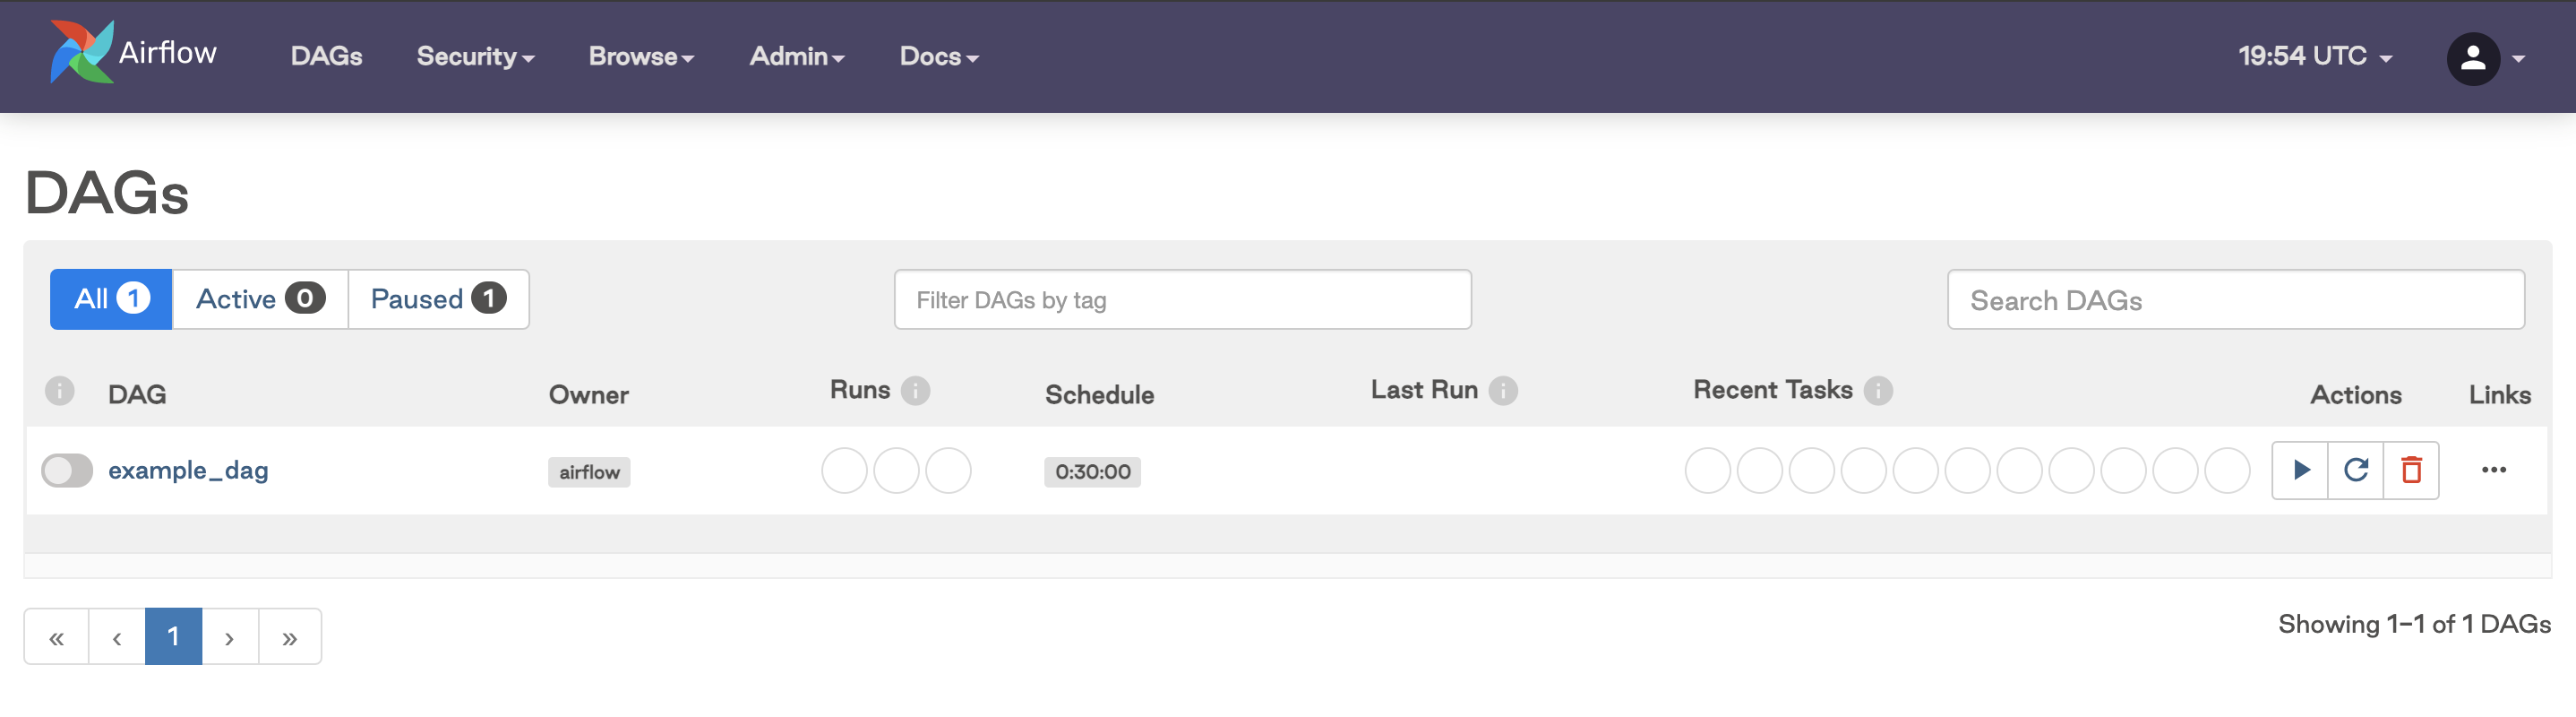
To help you get started, your initialized project includes anexample-dag in /dags. This DAG simply prints today’s date, but it’ll give you a chance to become familiar with how to deploy on Astronomer.
If you’d like to deploy some more functional DAGs, upload your own or check out example DAGs we’ve open sourced.
Step 2: Build your project locally
To confirm that you successfully initialized an Astro project, run the following command from your project directory:- Postgres: Airflow’s metadata database
- Webserver: The Airflow component responsible for rendering the Airflow UI
- Scheduler: The Airflow component responsible for monitoring and triggering tasks
- Triggerer: The Airflow component responsible for running Triggers and signaling tasks to resume when their conditions have been met. The triggerer is used exclusively for tasks that are run with deferrable operators.
Step 3: Access the Airflow UI
Once your project builds successfully, you can access the Airflow UI by going tohttp://localhost:8080/ and logging in with admin for both your username and password.
It might take a few minutes for the Airflow UI to be available. As you wait for the webserver container to start up, you might need to refresh your browser.
dags directory in the Airflow UI.